To build a base for your DIY wood fired pizza oven, follow the simple instructions in this post. You will learn 3 ways to build a functional foundation for your outdoor oven.
These three ways are each simple but every next one requires a tad more effort and materials. With more effort, you get better ergonomics and durability. All options will get the job done but each has it’s benefits over the other.
DIY pizza oven base from old bricks, gravel or sand: the easiest method but bad ergonomics

This was my version number one: old bricks that were laying around. The initial goal was to buy as little material as possible. I wanted to make due with what I had laying around.
Luckily an old farmhouse has a lot to offer in that department. One thing that is definitely needed is a good level so you can have an even foundation upon which to lay the bricks. If it’s very crooked, there will be large gaps between the oven bricks and this might ruin the proper airflow throughout the oven.
To make a foundation for your pizza oven from old bricks (or gravel/sand), do the following:
- Lay the bricks down to get the idea of the size of the base of the foundation (see above picture)
- Mark the outer perimeter of the bricks with a shovel or something you can use to make a visible line. In the picture above there is a faint line but it was enough.
- Remove the bricks
- Use a shovel to remove the grass and some dirt. Do your best to make the ground as even as possible.
- Lay down the bricks again and use the loose dirt to raise some bricks or remove some dirt with your hand to get a brick lower. Use a level often to level the bricks and create a single even foundation.
Task nr. 5 is a bit annoying and I did not reach perfection when I did it. I settled with the “good enough, let’s see if it works” approach and it was enough.
You can easily substitute bricks with gravel, sand or both. This might be simpler as smaller particles are easier to level. Sand especially, gets everywhere. Using gravel or sand you might not need to even dig out the ground.
There is however one big problem with this approach, whether you are using bricks, gravel or sand. As there is not height to the structure the ergonomics are very bad.
You need to squat or bend way down in order to insert a pizza in the oven, watch it cook, turn it and do everything that is needed for a great pizza. To make matters worse the fire bit is even lower so making and maintaining the fire will be annoying. The second way to build the pizza oven base solves this.
DIY pizza oven base from construction blocks: very easy and better ergonomics
The second and a way better method to build the foundation is to use construction blocks.
This idea dawned on me when I uncovered my outdoor pizza oven after a cold, hard and snowy winter (picture below was taken later in springtime). The oven looked a bit sad and the fire stones had moved, creating gaps in the walls of the pizza oven and other places where they shouldn’t be. This was likely because some of the foundation bricks had broken and some had shifted in place due to harsh, changing weather conditions.

As I still wanted to make pizzas that day, I fired up the ol’ oven (it was already 10 months old by then). It worked, but not as well as last summer. I gathered it was time for an upgrade. Either way I had to lay the bricks again (with no gaps). Might as well make a better version. The oven 2.0, with construction blocks.
To build a base for your pizza oven from construction blocks, do the following:
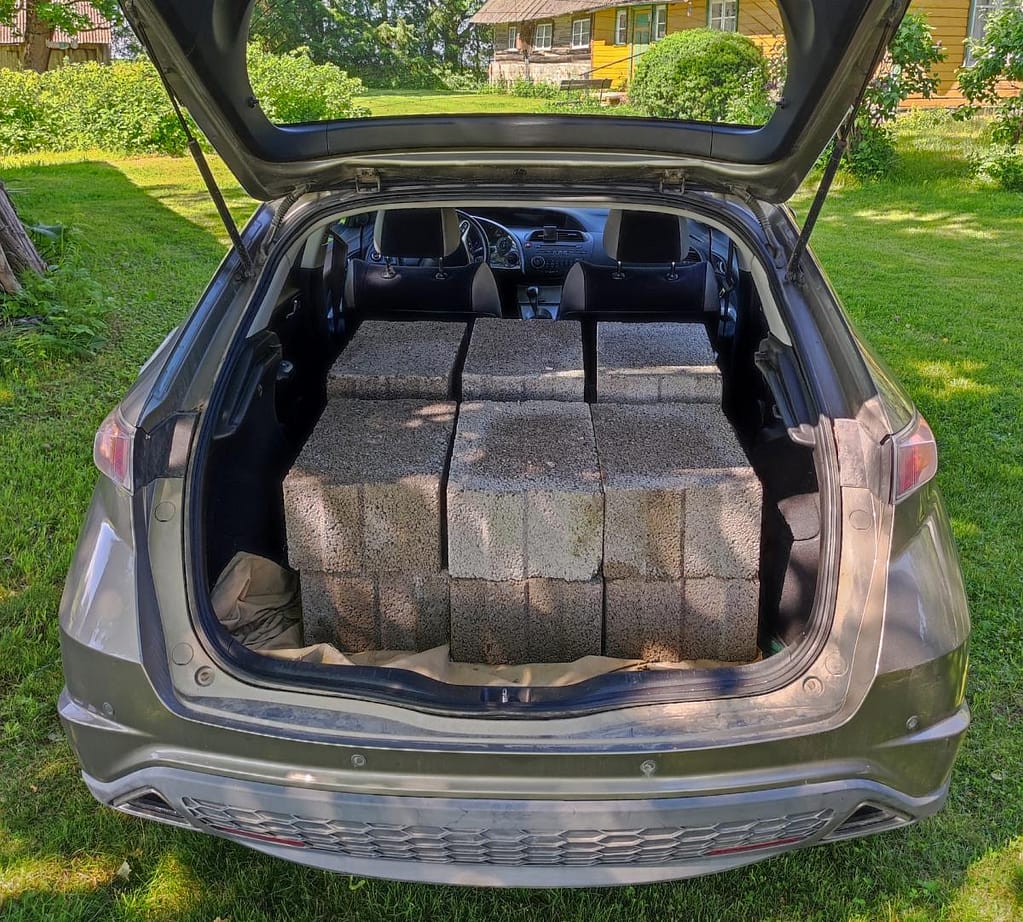
- Get construction blocks. You will need about 12. Measurements of a single block: 9.84 x 19.29 x 11.81 inches or in metric: 250 x 490 x 300 mm.
The quantity and measurements are recommended approximates. Basically anything will work as long as the constructed foundation is larger than the pizza oven itself. The larger the blocks the less of a hassle it will be to construct and get all the blocks level regarding each other. While I had two stories (6+6 blocks), you can make it a three storied foundation with 18 blocks (6+6+6) or why not go crazy and have four stories with 24 blocks (6+6+6+6). You get the picture.
- Even the ground where you’re going to lay the construction blocks. You can also use gravel or sand under the construction blocks.
The ground might not need any work. The lazy way is to lay six blocks on the ground and use a level to find out which block to lift or dig a bit lower into the ground. This was actually surprisingly easy in my case, although you do need to flex your muscles a bit to lift the blocks… possibly several times… tell yourself it’s fun. You can justify eating way more pizza afterwards.
- Lay however many stories you want. With 12 blocks and 6 per layer, you get two stories.
I stuck with just another six blocks on top. If you’re going for the skies, use the level from time to time to check that everything is even steven.
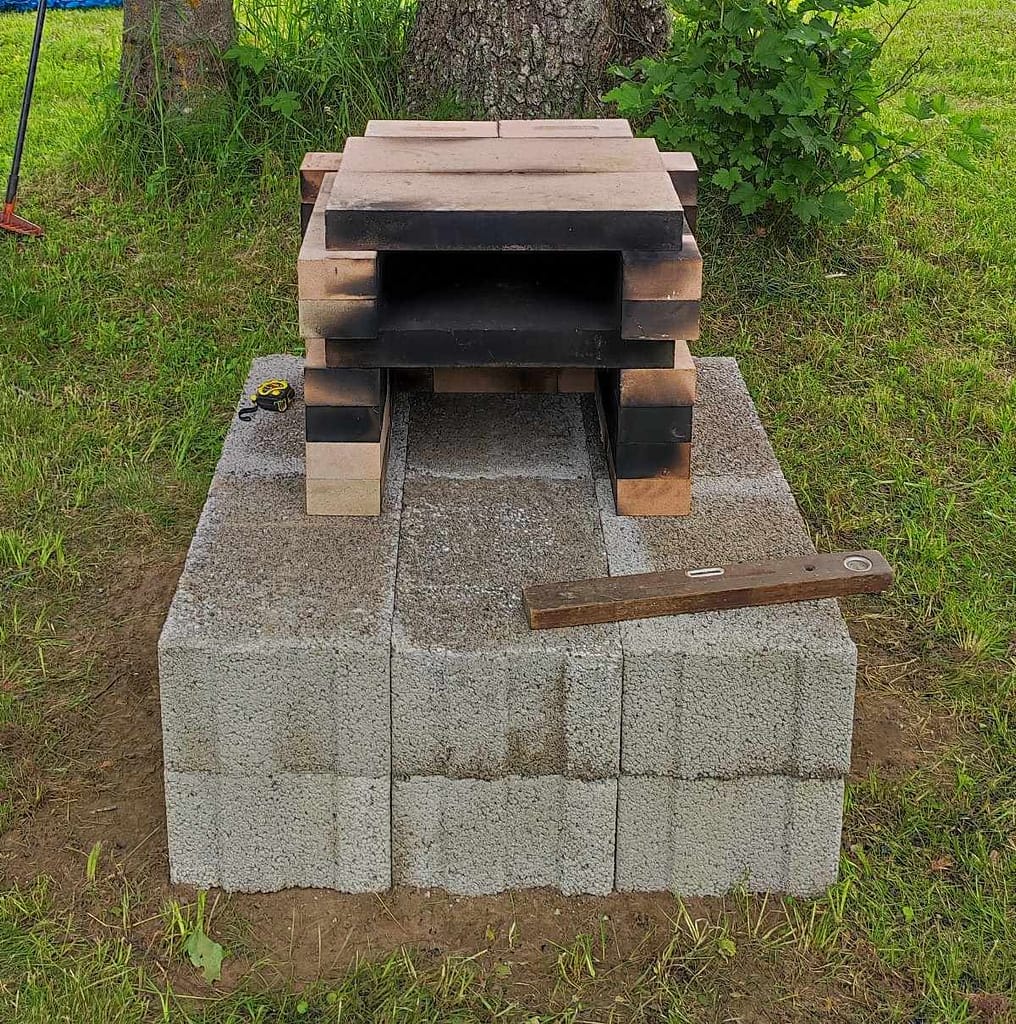
The above picture demonstrates a 6 + 6 construction block foundation. It’s just laid on dirt. As you can see the foundation is a lot larger than the oven itself. This was intentional as it gives some extra space in front of the oven. In my opinion a large foundation also looks more aesthetically pleasing.
Although good quality blocks should withstand cold climate and moisture it would still be good to have some ground clearance to avoid water pooling around the blocks. This is why I decided to pour concrete to make a truly solid foundation. Read on to find out how.
DIY pizza oven base with poured concrete under the construction blocks: most recommended option

The best method to create a truly solid, monolithic foundation for your outdoor pizza oven is to pour a small slab of concrete and then lay construction blocks on top.
This again lifts the oven even more, thus improves ergonomics and furthermore creates some ground clearance for the construction blocks so there wouldn’t be any water pooling around your blocks. Also, with climates that have rough winter periods with fluctuating temperatures, the ground might play throughout the winter. If anything moves, it moves together with the concrete foundation and the pizza oven stays intact.
Laying cement is a bit more challenging work than simply putting building blocks on top of each other. But hey, if I could do it, so can you!
Here’s a good and simple DIY video of pouring a small concrete slab in you backyard.
To pour a concrete slab for your DIY pizza oven, do the following:
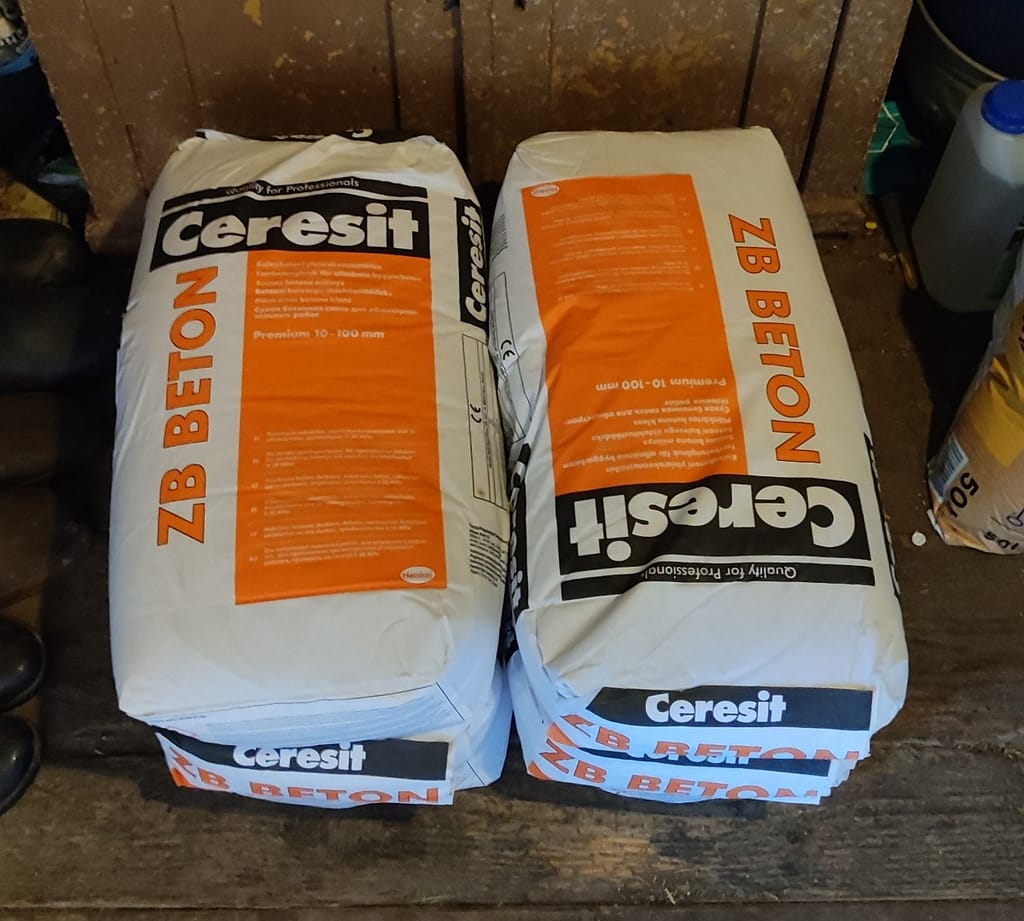
- Get about 8 bags of regular dry cement.
- Make a rectangular frame from straight blanks. The blanks need to be the same height to make achieving an even surface easier, although gravitation helps here also, resulting in a level surface.
- Put the frame on the ground and use extra pieces of wood to raise the frame where needed so the frame would be levelled.
- Secure the frame by hammering some wooden stakes along all four sides of the frame
- Insert a plastic sheet inside the frame. This helps keep the liquid concrete in place and prevents it from running out of the frame and through gaps.
- Reinforce the concrete by finding some old metal (or use proper reinforcement steel) to put in the frame before pouring cement. In the picture below, I used a metal headboard of an old bed plus some other pieces of metal wired together. This makes the eventual concrete block a lot stronger and resilient.
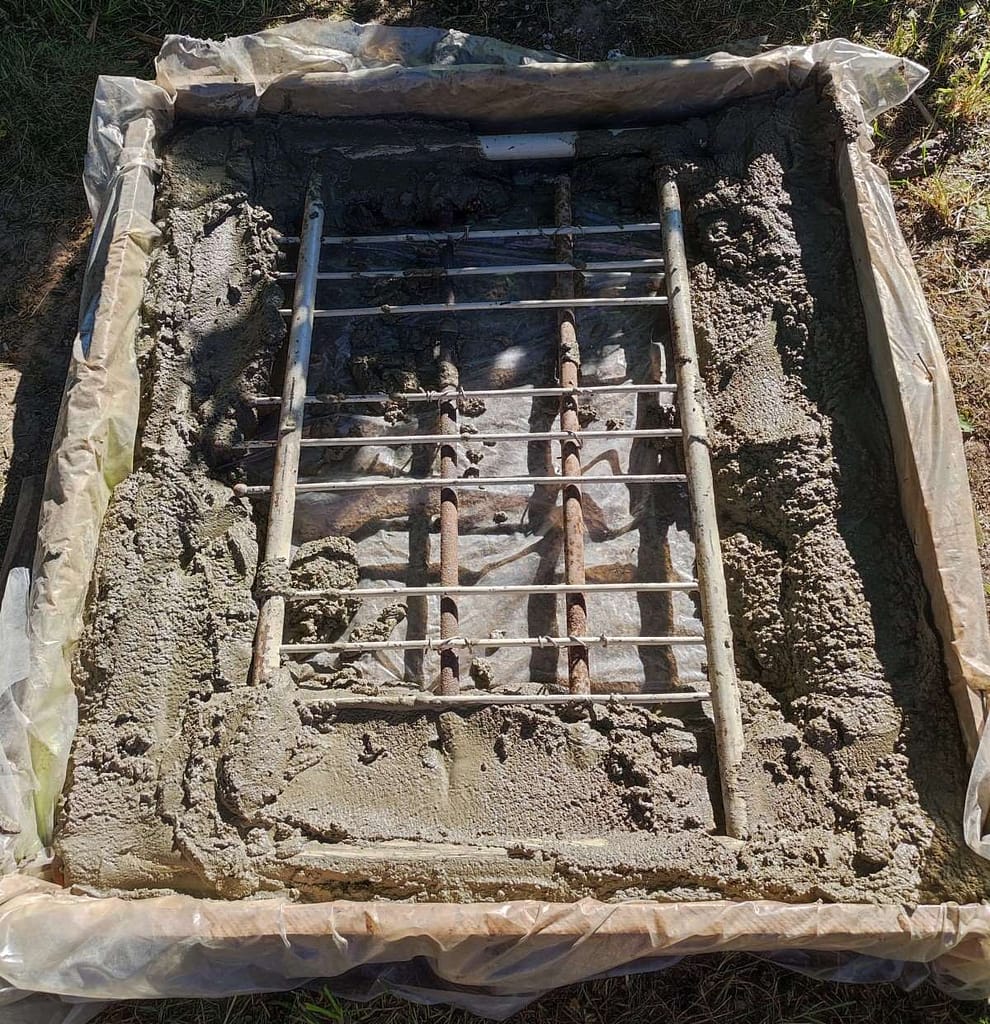
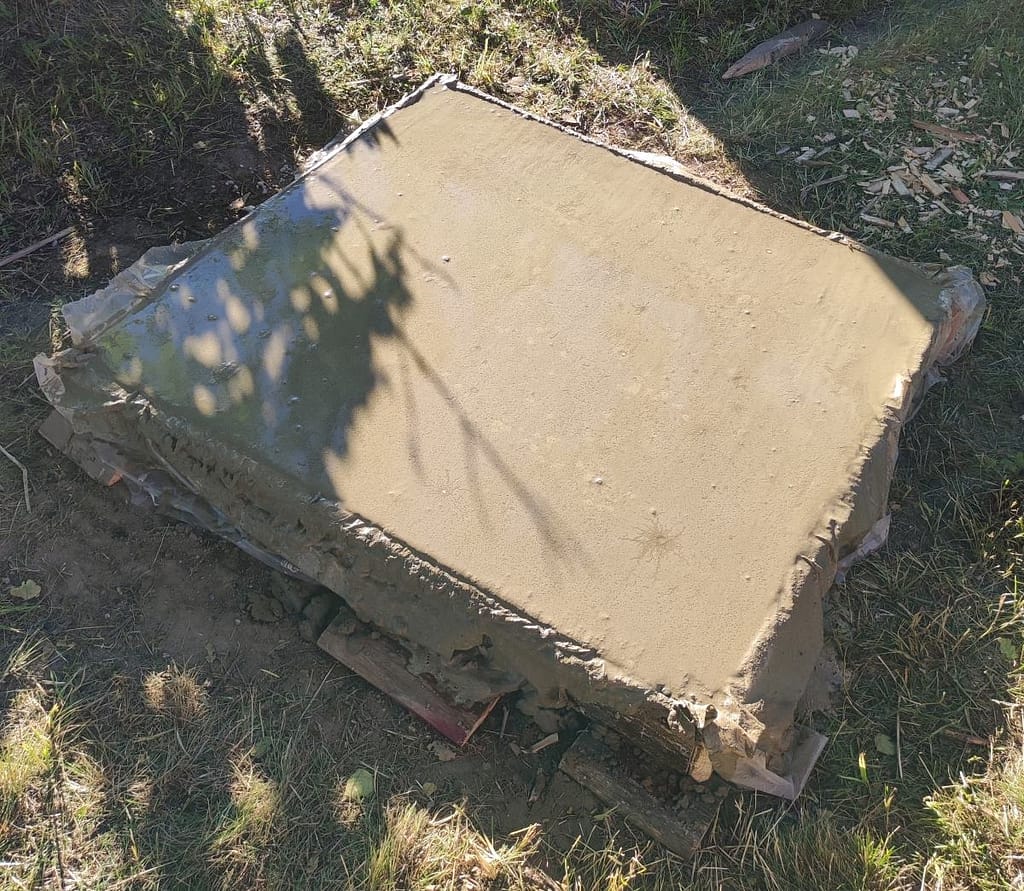
- Start mixing the cement one bag at a time. At the beginning, make a bit thicker mix, which will be used to secure the reinforcement in place (see the picture above). After that, make it a bit thinner. Keep mixing concrete and fill the rest of the frame.
- When the frame is filled with cement, even it out by running a straight blank over the frame back and forth (can also be seen in the video above at 4:24) to get a smooth surface.
- Let the cement cure for about a week (it takes time) and spray it with a bucket worth of water a day.
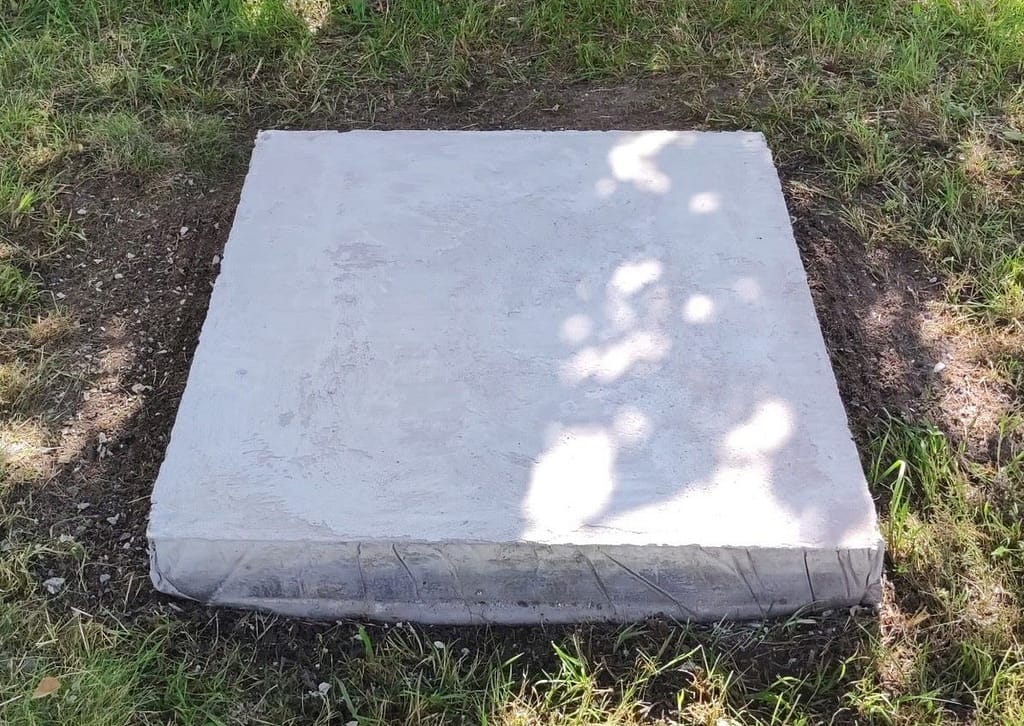
The end result is well worth it when the cement is finally dry and you can remove the wooden frame. You can also cut the plastic sheet as close to the bottom edge as possible. The picture below demonstrates the end result. A freshly minted concrete block. Now you can lay the construction blocks on top.
Now that you know how to build a proper base, go to How To Build An Outdoor Pizza Oven – Easy Step By Step Guide to learn how to build the pizza oven itself.